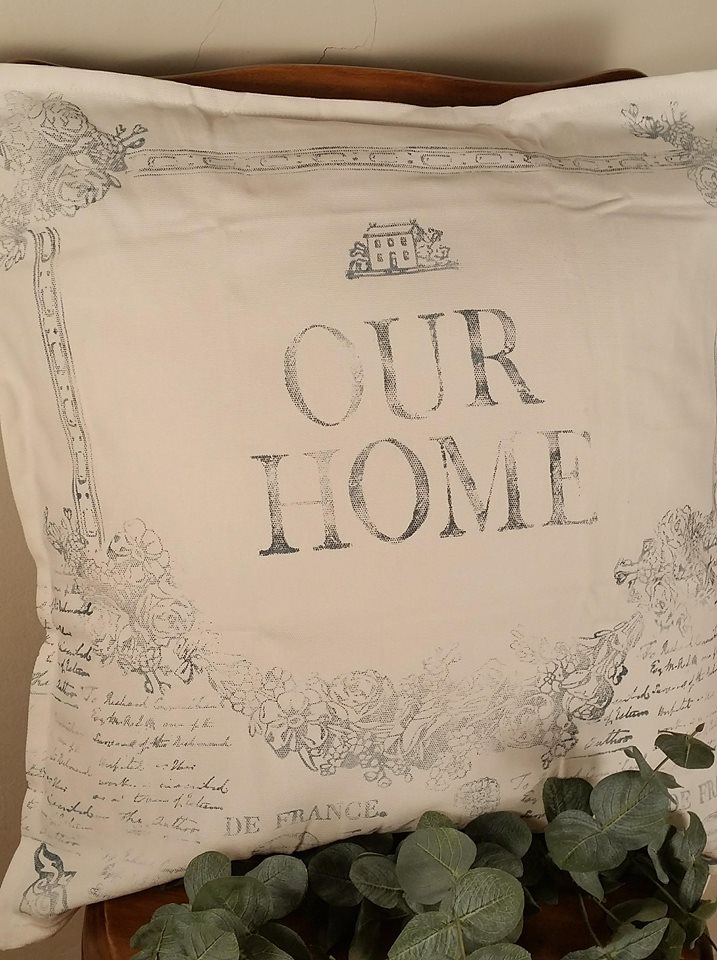
Create A Beautiful Pillow Using Iron Orchid Designs Decor Stamps and Inks
One of my favorite diy projects is creating a hand stamped pillow using the Iron Orchid Designs Décor Stamps. With all the incredible IOD Decor Stamps available the design possibilities are endless. From florals to unique Boho or Farmhouse designs, you can create a pillow to fit any decor style.
Stamping can seem so daunting when you look at a completed design but, it is really quite easy to do. I am going to show you step by step everything from how I prepare my stamps out of the packaging to showing you how to mask, a creative technique used to overlap the stamped images for added interest and design. With just a few supplies you can create your own design.
Here is what you’ll need
- IOD Decor Stamps (see all the designs here)
- IOD Decor Ink: Use one or several different colors
- Ink Pad by IOD
- IOD Thin Mount
- Pillow cover of your choice. Note: I like to use fabrics made of 100% cotton but, other fabrics do work, as well. You can find these at Walmart, Target, or Amazon just for a few ideas.
Important Step When Stamping Fabric
Before you stamp be sure to wash your pillow cover without any fabric softener to remove any sizing. If left on the stamped image will fail to bond with the fibers and will wash off the first time you wash the item.
See how this is done
Watch my video on how I created a customized stamped pillow video. Here is the video!
Now do not forget! Once you are done stamping, the pillow design needs to dry completely. I like to wait 24 hours. Once the ink is fully dry use a hot dry iron over the design to set the ink. This is the second most important step if you want to be able to wash your pillow.
Thank you for watching! Be sure to check out some of our other tutorials. We love sharing what we do and the products we love using.
